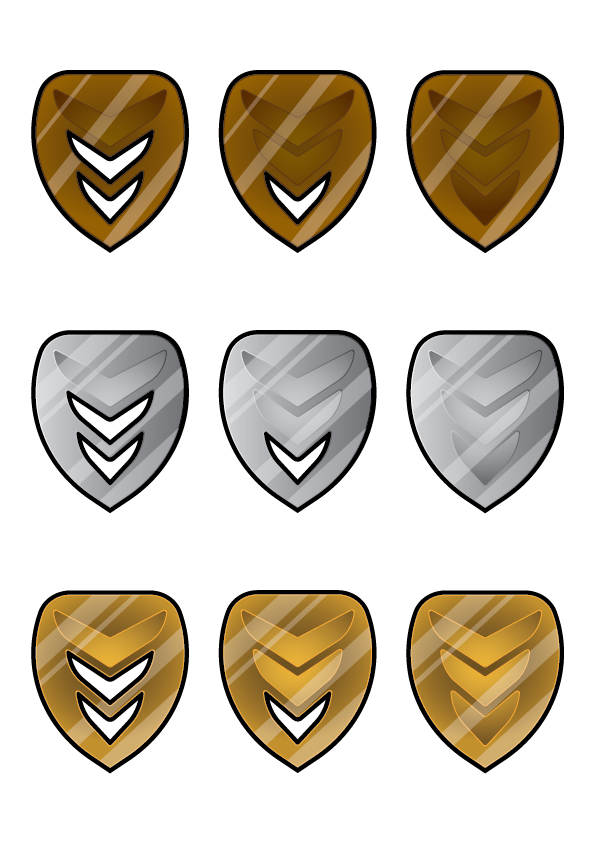
 This is a project of mine that has enhanced my skills and creativity in AI. It taught me how to come up with creative designs and I got better at using many tools because of it. To start making the badges, I created a brown badge-like shape using the pen tool and then adjusted it using the direct selection tool. After this, I added a shine to the object using the gradient tool to create a bronze look to my shape. After this, I started working on the rank part of my badge, where the more filled-in holes there are, the greater the rank based on the tier. The three tiers are bronze, silver, and gold. To do this, I used the pen tool to design three shapes that would go onto my badge. I wanted to add a different shine effect to them to make them stand out so I duplicated my badge, gave it a thick black outline, and then used the object builder tool to subtract my 3 shapes from my original badge that I gave a brown outline to. What this does is it gives the effect that the shapes on the badge are extruding from the badge even though they're not in Illustrator. I wanted to add another reflection effect to my badges, So I added a group of 50% transparency rectangles to my badge that I would delete the unwanted edges using the shape builder tool. Done with my third rank badge, I started work on my first and third rank badge by duplicating my badge, using the shape builder tool to remove the unwanted part of my badge, and repeating this process once more. I stacked my 3 badges next to each other, duplicated them twice, recolored my two new rows of badges silver and gold, and then finished everything off by adding in new transparent rectangles for a look of reflection.
0 Comments
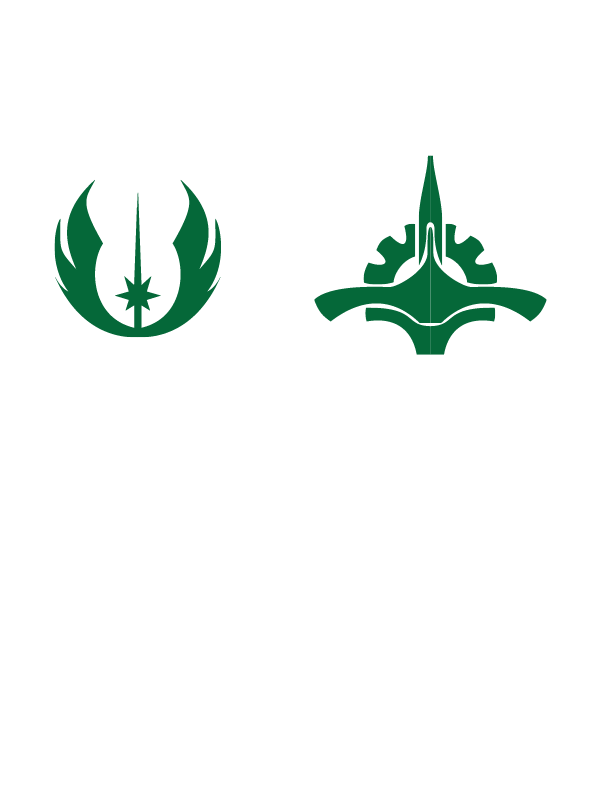
This was a very helpful practice project that has made me much better at using the array and pen tools. I had to trace on a pixelated background of Star Wars designs and fill them in with the pen tool. I started with the logo you see in the top right with the "st", Switching from curved lines to straight lines using the pen tool with these movable widgets that would dictate the path of the bezier curve (mathematical paths formed by the location of different points. the anchors, and the widgets. How the curved paths are placed is that for each anchor point on a curved path, there are two widgets parallel and of equal distance to the anchor point. However, this can be altered by holding the alt key and changing the location of the second widget point. With this knowledge of how the pen tool works, I would go on to complete tracing all of the shapes you see above. As I said earlier, I also used the radial array tool to quickly make all of the symmetrical shapes you see up above, Such as the 2nd one with sextuple symmetry, the fifth one with octuple symmetry, then the 3d, 4th, and 5th all with double symmetry. I did this by making a unique part of the drawing, and then duplicating it using the radial array tool based on its type of symmetry.
|
AuthorHey there! My name is Ivan Kacvinsky. I am currently taking a Computer modeling and animation course. What I have learned how to do so far in this class is the use of 3DS max. a 3D modeling software that you can render, 3D model and animate in. All of the three things listed are things that I have been taught how to do and have done. Important: The views and opinions expressed in this blog are solely those of the author and do not represent those of Chapel Hill HS Or Chapel Hill-Carrboro City Schools.
Archives
May 2024
Categories |


 RSS Feed
