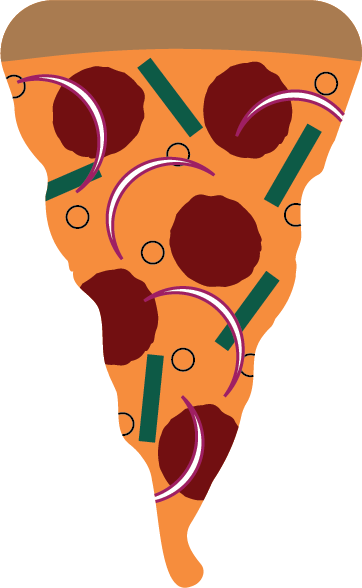
 In this project, I was tasked with using new software that I hadn't used before. Working with it was very fun, quick, easy, and pleasant, This is mainly because of the way illustrator works. Where when working on illustrator, you're using the power of mathematically generated splines instead of pixels in photoshop. Although the image that you see above is a bitmap image, The spline painting process is still very important as it makes illustrators a very powerful tool. I started with adding an elongated triangle to my canvas, then coloring it using a color from the vegetable swatch that I would later use for my toppings. To add the crust, I put in a rectangle on the top of my triangle colored appropriately, then used the shape builder tool to remove the access crust, and lastly used the direct selection tool to smooth my crust out. After this, I felt as if the cheese itself was lacking, so I used the wrinkle tool on the cheese to give it a melting effect. After completing the base to the pizza, I started working on the toppings with the pepperoni. To add more depth to the image I used the warp tool again with a dark red circle that I would duplicate as my pepperonis. Since I had some sticking outside of the cheese, I had to use my shape builder tool again to remove the parts of the ones that were sticking out. I repeated this twice more with my olives and green onions, but I would do this on the stroke of the olives instead of the fill. To add a final topping, I chose to add red onions that I would make by adding in a white circle with a purple stroke, removing a part of it using another circle with the shape builder tool, Then finally duplicating my onion to complete my pizza.
0 Comments
This was the most challenging yet fun 3d model I've worked on so far. I'm pleasantly surprised with the finished project and I'm happy with how far I've made it in this class. To provide some history that led up to the start of this project, All of the files on the computer that I use were wiped away. Meaning that I had to start over on my tank model completely. Although this was a setback, The tank model that I came up with ended up being much better than my old deleted one. To start the UV mapping, I went into 3ds max and added an unwrap UVW modifier to my tank. When I peeled my tank, I noticed the great number of spaces that I would have to draw/fill in while in Photoshop, To minimize the amount of editing that I would have to do in Photoshop, Removed half of my tank using the edit poly modifier, then added the symmetry modifier on top of my unwrap UVW modifier, what this does is it lets me edit only half of the tank in photoshop with the symmetry modifier takes care of the other half. While inside the UV editor, I noticed a great image distortion in my tank model. To fix this, I the tools in the unwrap UVW modifier to create new parts, after a lot of seeming, I noticed a great decrease in distortion that would allow me to start work in Photoshop, however, To make editing in Photoshop even easier for me, I would have to create seems around areas that would be painted differently from others, Such as the continuous track and the area with the wheels. after quite a bit more seeming, I was fully ready to work in Photoshop. I first rendered my UVW template in 3ds max as a jpeg, then embedded it into Photoshop as a separate layer over a square image of tank camo because my UVW template is a square. Since my UVW template isn't an image with a transparent background, I had to remove the black in it So I could only see the lines over my camo in Photoshop. I did this by selecting one of the black tiles using the magic wand tool, clicking select similar, then deleted as I wouldn't need this black background anymore. To start with adding things to my camo canvas, I added a US Army star that I would rescale and remove the background to an area of my project on Photoshop that I could see thanks to my edited rendered UVW template. After this I started working on the wheel portion of my tank by Importing an image of a tank, rescaling it to match up with the correct part of my image, turning off the visibility of my tank image layer, then using the polygon lasso tool, inverting my selection, deleting my inverted selection, then turning on visibility So that my edited tank image layer wouldn't invade into other parts of my image. Lastly, I started to work on my continuous track. I wanted sort of a dirt-like look for them so I Painted the correct parts of my image a brown color then added a darker color of brown to them using a textured brush. I wasn't finished though as I had to keep my painted dirt from invading the incorrect parts of my image. So I added a layer mask to my dirt layer and then added white sections to the invaded areas using the polygon lasso tool. (note: The UVW map that you see above actually isn't the one that I used for my tank. It's just there to show the painted areas of the tank. When finishing my image in Photoshop, I removed my edited rendered UVW template from my image as if kept it for my tank, all the edges would be painted an ugly yellow). All I had to do now was go back into 3ds max, open the slate material editor, add in a standard legacy block with my image as a bitmap connected to the block's diffuse color, and then connect my standard legacy block to my tank model. After this, when I rendered my tank image, I noticed a lack of depth. So I imported a square image of just rust into Photoshop, turning on a black and white filter, then saving and importing it as a bitmap for the bump setting of my standard legacy block, finishing this assignment.
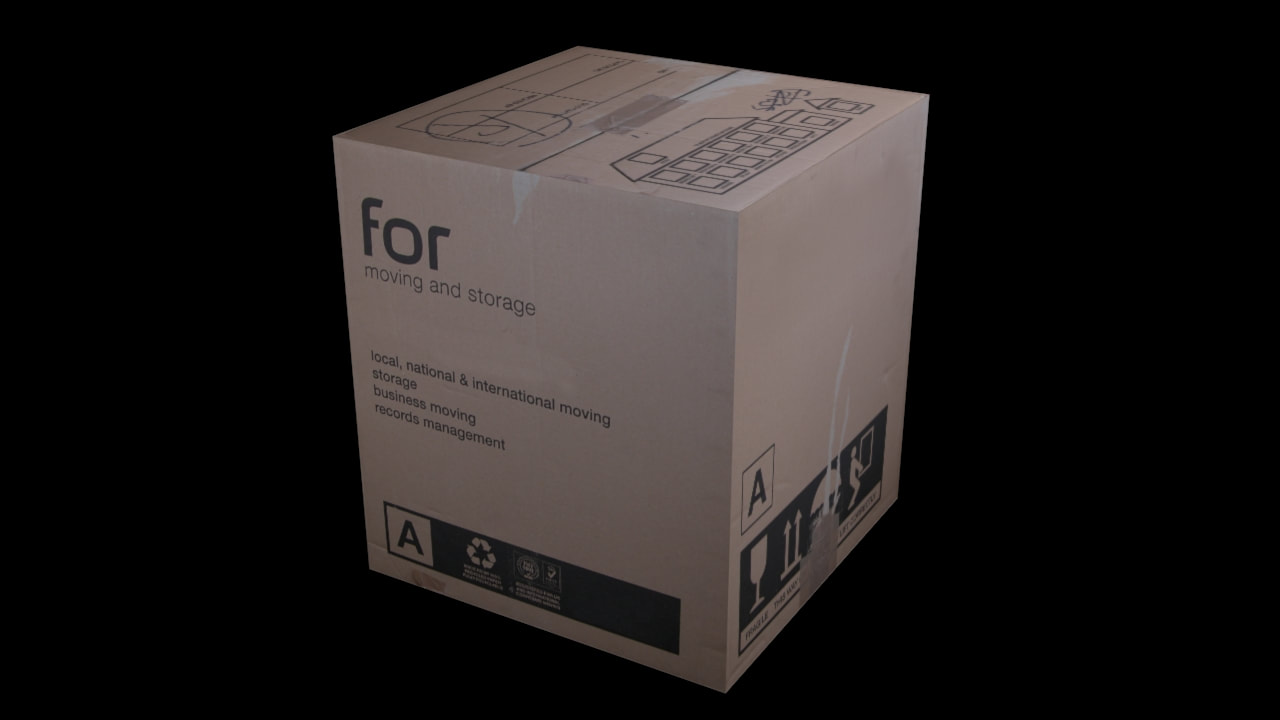
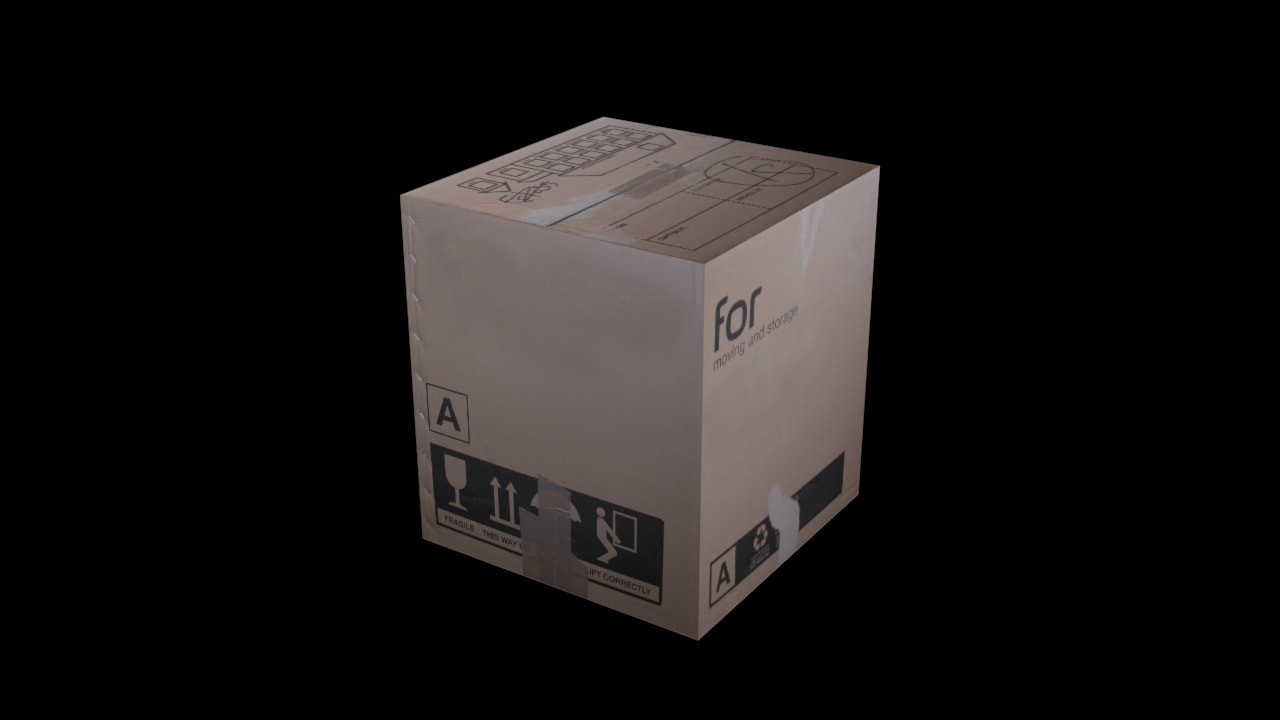
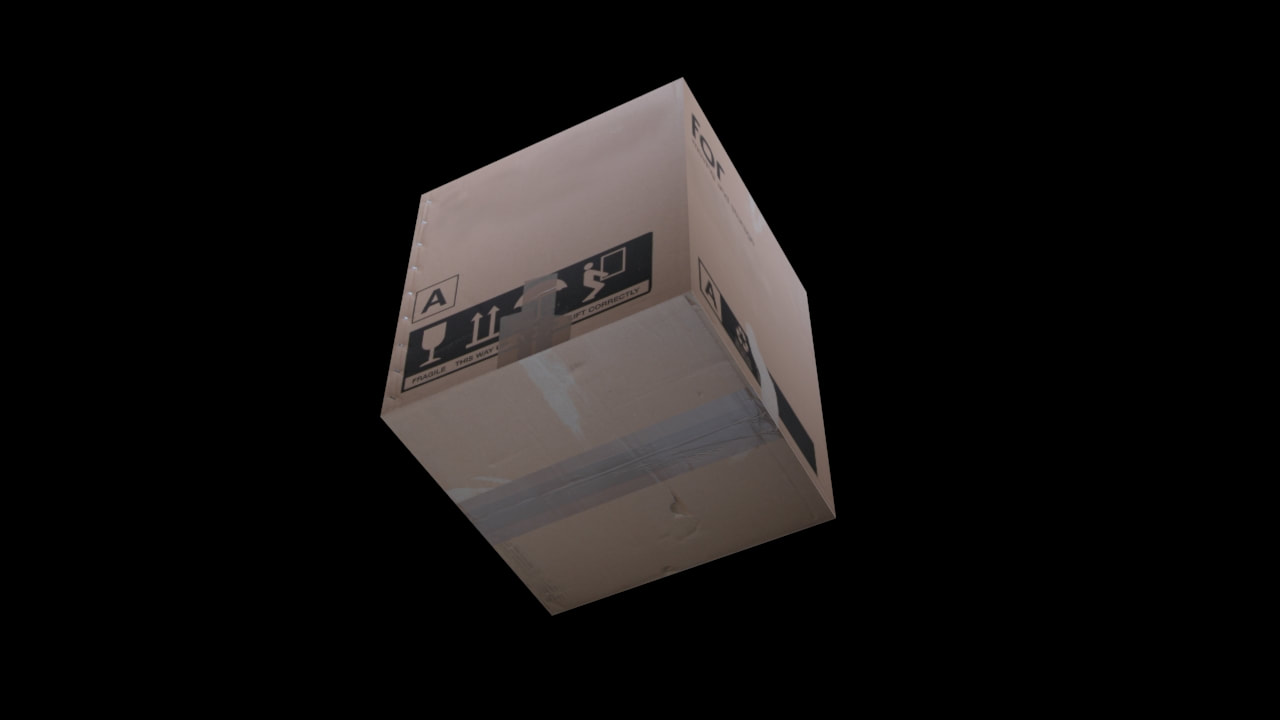
This assignment was quite easy to complete, however I did learn quite a bit from it. I started by adding a cuboid, adding two modifiers to it, (UVW unwrap & edit poly), and then compressing the modifiers as an edit poly modifier to add images to the sides of the cuboid. Then to start with actually adding the images to the cuboid, I downloaded 6 images to put on the box, then opened to slate material editor, added a multi sub object block with 6 inputs, each input labeled correctly to avoid incorrect mappings, then added 6 standard legacy materials to each of the 6 inputs that I would then connect my 6 downloaded images to as bitmaps, each bitmap image correctly connected to the right standard block. But not completely. even though each of the sides' names matched up, the sides themselves didn't. To fix this efficiently, I used my editable poly modifier to change the material IDs of each side so that they would match. I could match these quickly by clicking on the unmatched side with the polygon selection for it to tell me its ID, then changing the ID with the correct one twice to finish this project. To conclude, I learned how compressing a modifier works, and how to change unmatched sides quickly.
|
AuthorHey there! My name is Ivan Kacvinsky. I am currently taking a Computer modeling and animation course. What I have learned how to do so far in this class is the use of 3DS max. a 3D modeling software that you can render, 3D model and animate in. All of the three things listed are things that I have been taught how to do and have done. Important: The views and opinions expressed in this blog are solely those of the author and do not represent those of Chapel Hill HS Or Chapel Hill-Carrboro City Schools.
Archives
May 2024
Categories |
 RSS Feed
