|
I began this project of extending the detail of my tank model by changing the angle that the turret is at, because of its unrealism. I did this by removing the turret and changing the angle of the polygon that the turret previously was on. I did this by using the polygon menu for the editable poly and the select and rotate tool to rotate the polygon that the turret was on to an appropriate degree. However, this caused the bordering polygons to distort. meaning that I had to find a solution to that problem. What I did was I removed the distorted polygons, set the editable poly menu to the border, clicked on the voided polygons, and then clicked cap on both of them. Lastly, I switched back to the polygon and extruded the polygon that the old turret was on, however, I noticed the unrealistic shape of the turret. It was much too thick, and it lacked detail. so, what I did to change this was using the select and uniform scale tool to change the shape of the polygon and extrude it to create an appropriately sized turret. However, I still noticed that the turret was lacking detail, so what I did was I shortened it and then added different-sized and shaped sections using the bevel and extrude tool for more realism. Also, to add a touch, I made a slight indent in the tip of the turret to give the illusion that it has a hole in it. After polishing the turret, I decided to start working on the front of the tank. What I did was add an extra pair of polygons connected to two front polygons using the select and uniform scale tool. This gives the front of the tank a much more realistic look. After this, I especially noticed that the sides of the tank were lacking detail. So, what I did here was I used the bevel tool to extrude and bevel on the top part of the sides of the tank. and then intruded and beveled on the bottom part of the sides of the tank. The reason why I did it was not only for added detail but also to give the illusion of the part of the tank where the wheels go. After all of this, I noticed that the top of the tank was lacking a bit. so, what I did was I used the bevel tool, then the extrude tool, then the bevel tool again, to make the tank look like it has a cover on the top of it where tank operators go inside. Lastly, I changed up the geometry of the parts below the rotating part of the tank to add more detail. Lastly, I wanted to add a bit of detail to the back of the tank to make the whole thing look complete. What I did was I switched to edge in the editable poly menu, and I selected that part of the tank in the front viewport (showing the side of the tank) and moved it using the move tool. This was a very fun project to work on, and I found its challenge of having to turn a single box into a tank to be very fun. Some of the other things that I found very fun about this project were organizing all of the images using a slideshow element and using the tools used for editable polys. Some of the easy parts of the project were using the editable poly tools, rendering the images, and putting everything together in Weebly. Some of the hard parts of this project were Figuring out how to use the cap tool for the editable poly to avoid distortion, figuring out how to change the angle that polygons are at, and trying to figure out how to select multiple polygons on the editable poly at once. I can use this lesson in the real world for other software applications that specialize in 3D modeling. This would be helpful in 3DS max and other applications because of the optimality of designing a 3D model using only 1 shape, as it might reduce the processing power needed in order to render/animate a 3D design. The skills that I learned to produce this project were skills obtained from creating a tank from a square by shaping it as an editable poly, as there are a lot of skills to gain from learning how to shape objects in 3ds max as editable polys. these skills/techniques include Learning the difference between each of the geometry options from the editable poly menu, such as Vertex, Polygon, and more. some other techniques to be learned from this include extruding, beveling, inserting vertexes, and so much more. I extended my knowledge of 3D modeling after completing this activity by learning the pros and cons of converting a shape to an editable poly. Because of this, My skill and knowledge of 3dx max have been vastly improved. Now this lesson was great and all, but certainly not perfect. there could've been some things to improve our learning experience from it. These include whether this lesson's tutorial video gave a more in-depth analysis of the tools that can be used in the editable poly method. The reason why I say this is because the tutorial gave a very shallow analysis of the tools that can be used in the editable poly method, and also only really went over the polygon tools.
0 Comments
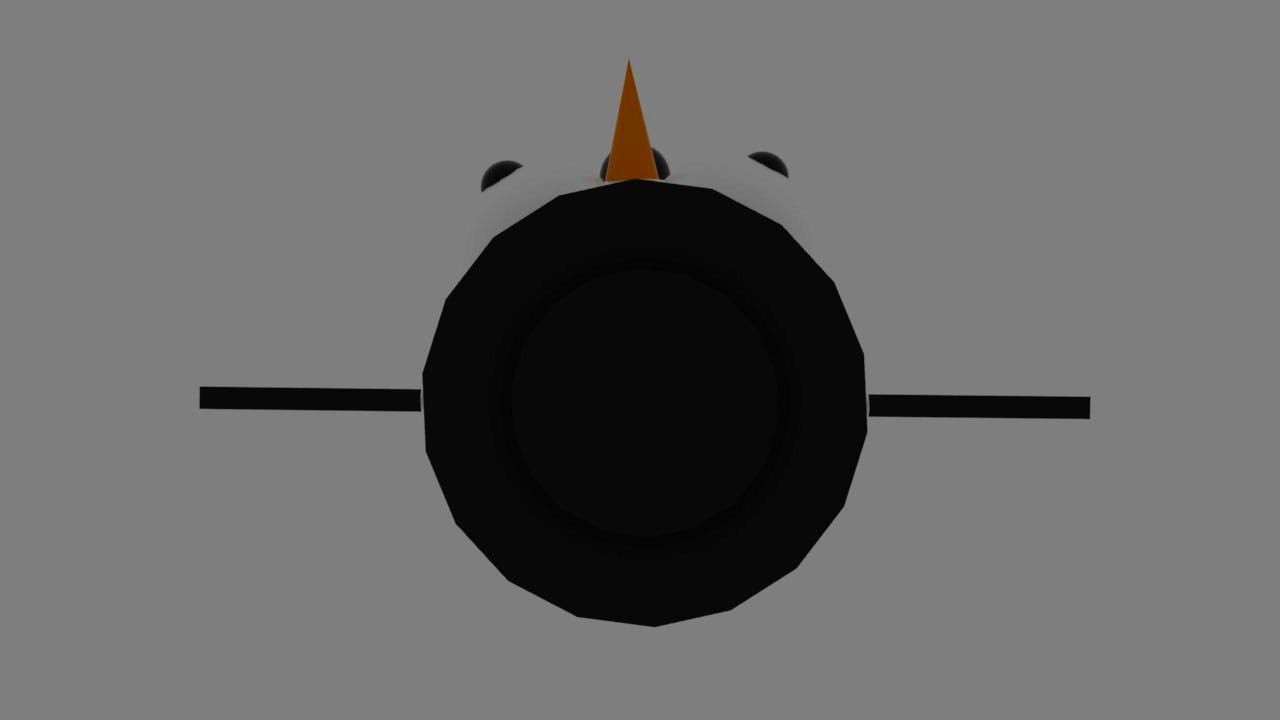
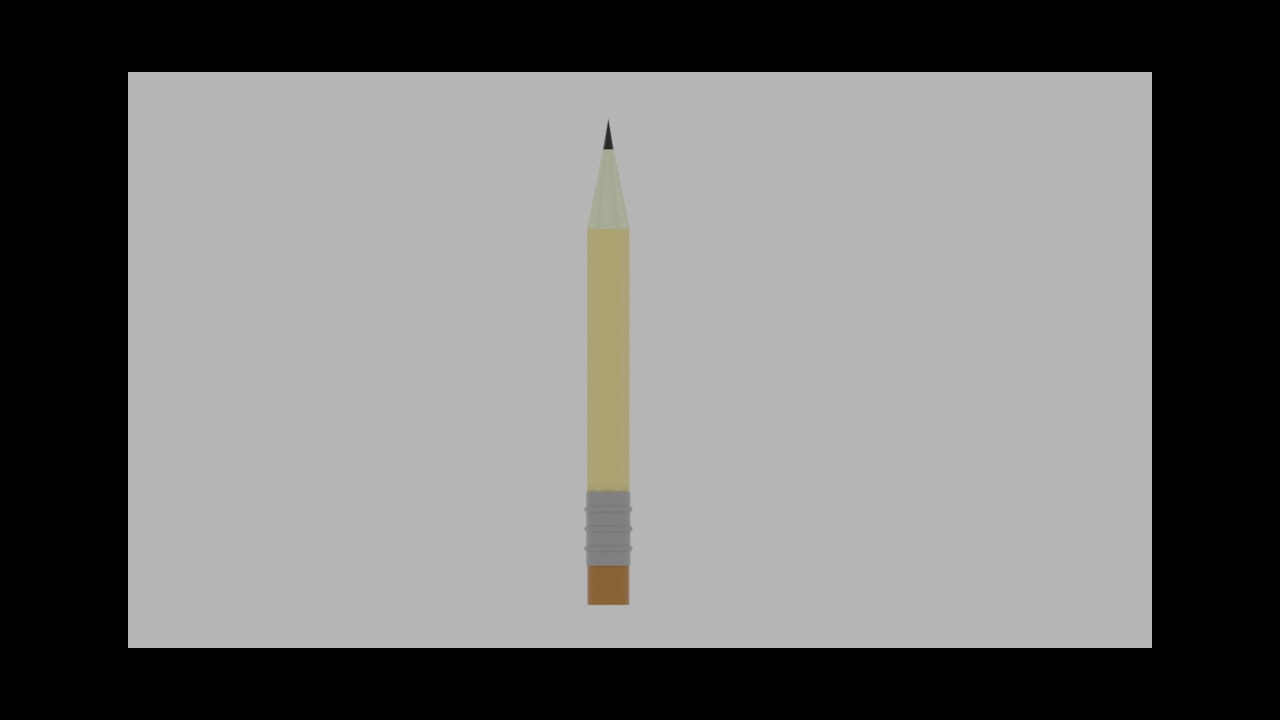
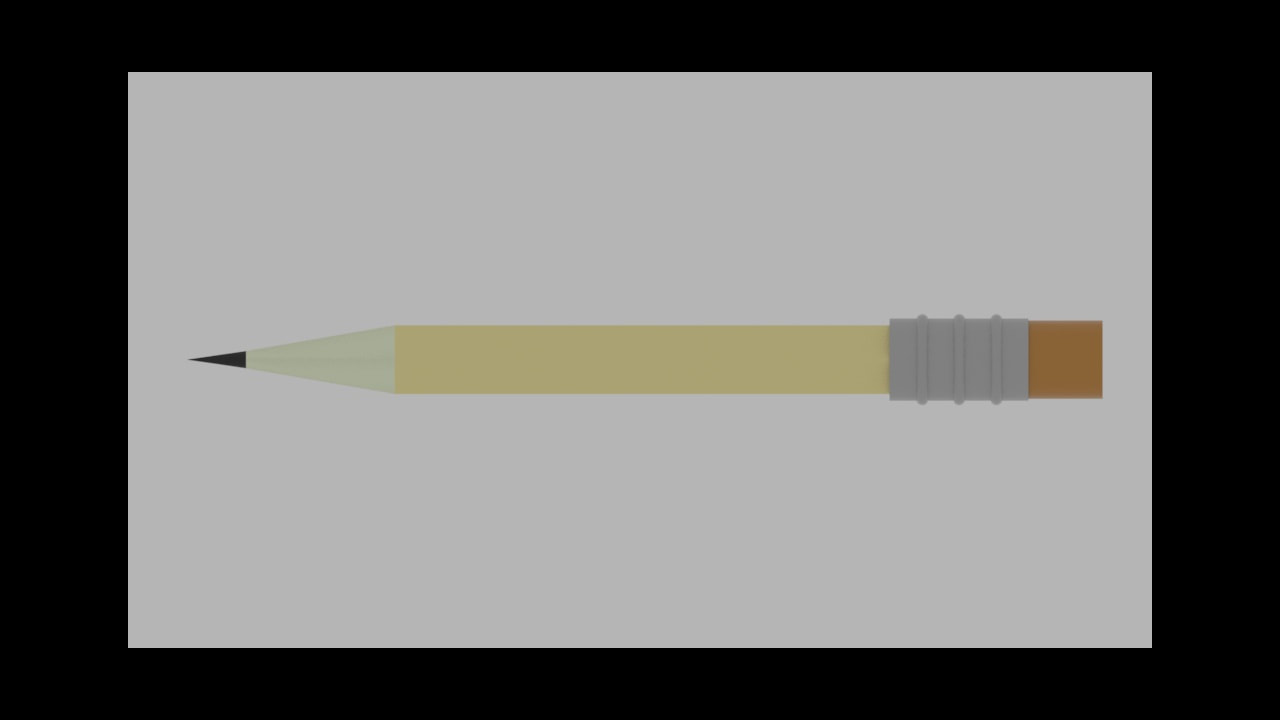
This project has taught me much about 3ds max, especially how to use more primitives like the torus and cone. It also gave me a better understanding of how duplication works. Although the primitives in 3ds max have very simple shapes, they can be used to form much more complex shapes when combined. this is because of the amount things that you can do to any given primitive, these consist of duplicating the primitive, changing the number of sides it has, moving it, removing a part of the primitive, changing its radius(es) (if there is an option for that), and so much more.
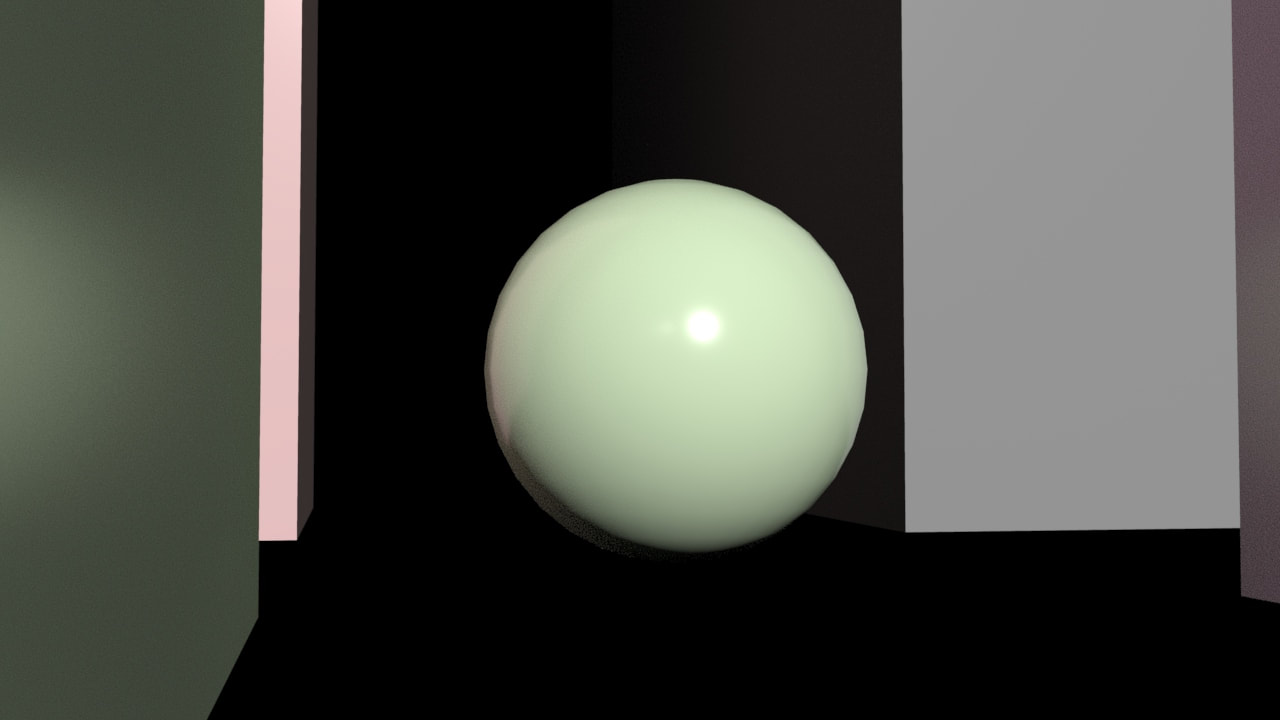
I started working on this project on September 6th, 2023. Some of the things that I like about this project include animating the ball, Experimenting using different tools, and coming up with solutions to challenging problems. Even though there were many things that I liked about it, there were some that were quite annoying and difficult to complete. These things include trying to place the ball at its starting point (as I spent a while trying to figure out where to place the ball by manually changing its coordinates and also how to move the ball accurately by using the move tool), trying to get the video onto Weebly, as I ran into some problems there. (such as trying to figure out what tool in the blog editor to use to put in my video. At first, I tried to use an HD video but figured out that I would need a subscription in order to do so, then then When I figured out how to add it using the mp4 file's HTML code embedded in Google Drive, it took me some time to realize that the link to the video on google drive was privated and that it needed not to be. While this project has some hard parts, it also has its easy bits. Some examples include animating the ball (because 3ds max automatically puts in a set velocity for you when you make the ball go from point a to point b in n seconds. This makes it super easy for beginners to animate things in 3ds max), Adding in the shapes (because there is a large variety of tools that you can use to do things like duplicate shapes in different ways, change their dimension, their coordinates, shape, and a lot more.), and moving around in the editor. (like adding in the shapes, there is a large variety of usable tools for this. The reset view tool is a prime example that I use a lot.) The ways in which I or anybody can use what I have learned from this in the real world include 3D modeling, Animation, Architecture, graphic design, and so much more. It's safe to say that I have learned a lot from this project. Some examples of the skills and knowledge that I have learned to produce this project include an increased understanding on how to create blog posts on Weebly, and a good understanding of the basics of 3ds max, which include rendering an image and a video, animating, camera control, and many other tools found in 3ds max. While this project has taught me a lot, there may have been some things done to make the lesson for the project better. Personally, I would recommend adding a larger variety of tools needed to complete this project, as the tools we've used for this are very base level to the point where there could've been changes done to the criteria of the project to better our understanding of some more obscure and useful tools.
|
AuthorHey there! My name is Ivan Kacvinsky. I am currently taking a Computer modeling and animation course. What I have learned how to do so far in this class is the use of 3DS max. a 3D modeling software that you can render, 3D model and animate in. All of the three things listed are things that I have been taught how to do and have done. Important: The views and opinions expressed in this blog are solely those of the author and do not represent those of Chapel Hill HS Or Chapel Hill-Carrboro City Schools.
Archives
May 2024
Categories |


 RSS Feed
