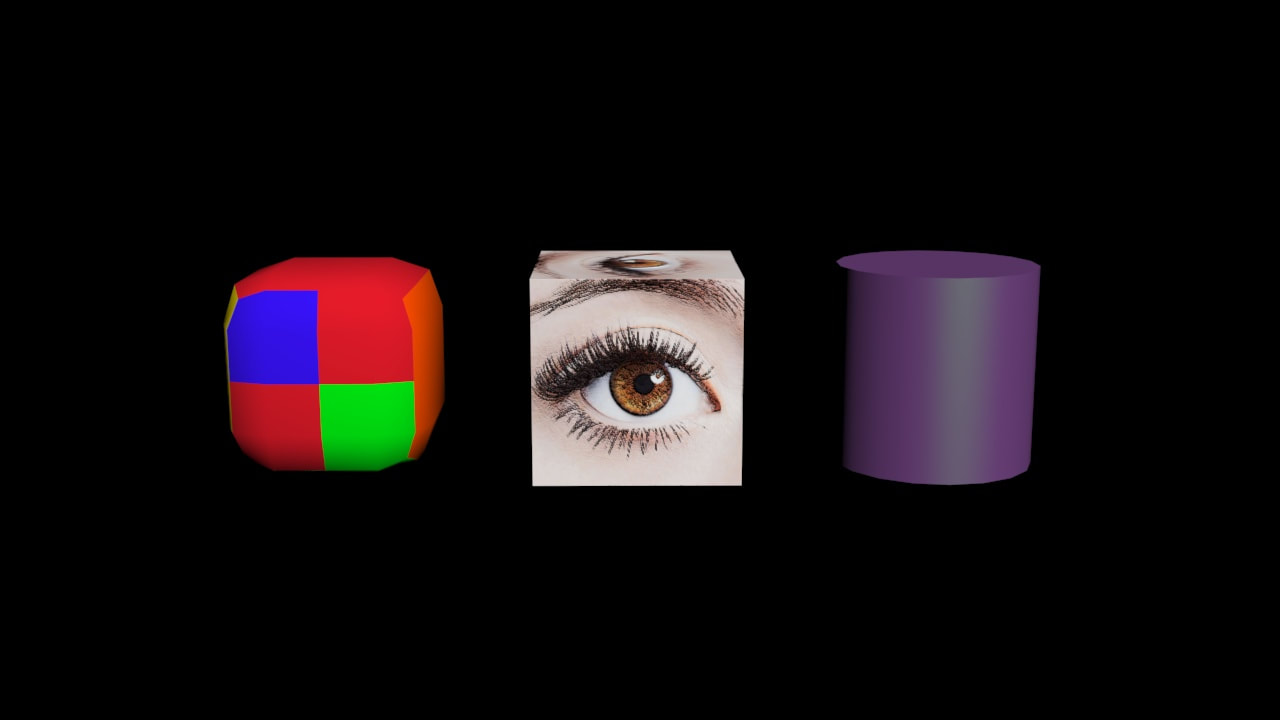
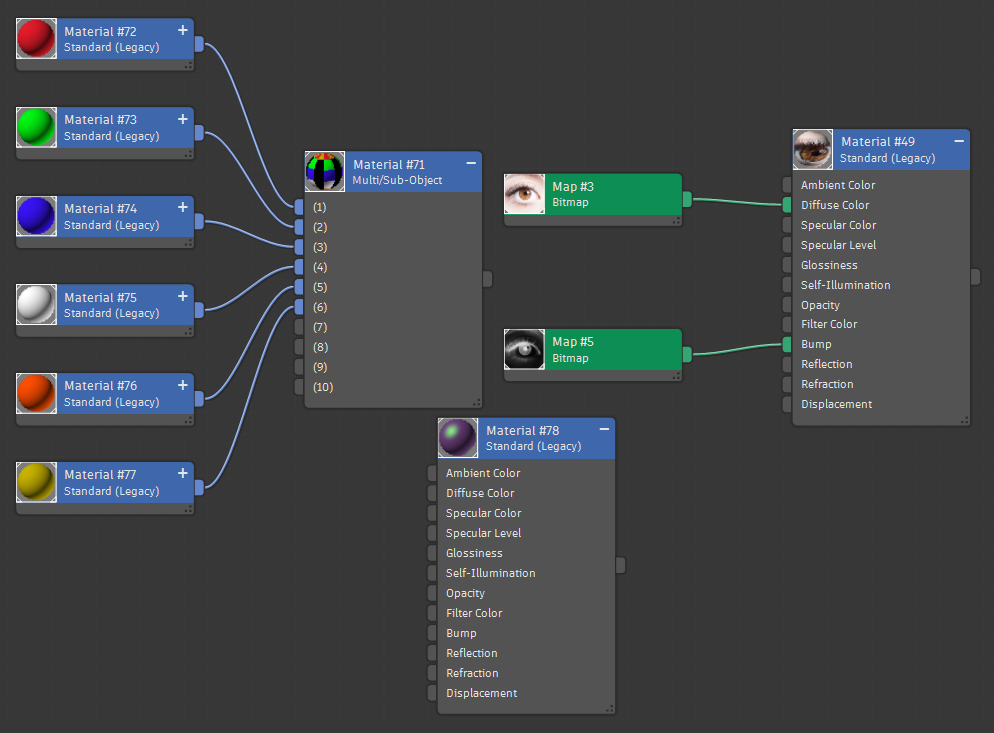
  During the creation of this, I learned how to map materials, textures, and images onto objects. First off, I started with the cylinder on the right by adding the cylinder standard primitive, then opening up the material editor then adding a standard block to the editor that I can use to change the material of the cylinder. The first thing I altered was the diffuse color of the cylinder using the material editor. Something that I could do without the editor, However, I would need to do this to add a specular color. The specular color adds a light source to the selected object. I colored the specular color the complementary color of the diffuse color because I thought that It added more depth to the cylinder. After finishing the cylinder, I started working on the eye cube in the middle. Again, I added a standard scanline block with the material editor for this object. But then added more to the block itself. I added a bitmap image that I cropped as a square JPEG in Photoshop. Then it is the diffuse color connector to map the square image on each of the 6 sides of the cube. I wasn't done here though. I had to add an actual texture to the image, which means a bump map. Now the way bump maps for standard scanline cubes work is that they map onto the cube-like images used for the diffuse color, but where the parts of the image that are lighter shades of gray Bump out more and vice-versa. So I took my cropped eye image in Photoshop, added the black and white modifier to it, and then inverted the image because I noticed that when non-inverted, the parts that would realistically stick out the most were black. which is the opposite of what I wanted. For my final cube object, I added a multi-sub-object block for it instead of a standard one. This is because multi sub-objects let you color multiple of their sides. After this, I converted the object to an editable poly, with four sections on each side that I could color. I started to work on coloring this object by adding 6 standard legacy blocks to connect to 6 connectors on the multi-sub-object block that covers the six sides of my cube. Lastly, after coloring 6 of the sides, I recolored some of the 4 plains per each side with the other colors using the edit poly modifier, and then I was finished. This was very fun to make as the material slate editor is a very well-made tool.
0 Comments
Leave a Reply. |
AuthorHey there! My name is Ivan Kacvinsky. I am currently taking a Computer modeling and animation course. What I have learned how to do so far in this class is the use of 3DS max. a 3D modeling software that you can render, 3D model and animate in. All of the three things listed are things that I have been taught how to do and have done. Important: The views and opinions expressed in this blog are solely those of the author and do not represent those of Chapel Hill HS Or Chapel Hill-Carrboro City Schools.
Archives
May 2024
Categories |
 RSS Feed
